Restore Old Photos: Common Mistakes to Avoid
Announcements
Restoring old photos is a task that requires care and practical knowledge. You probably have some faded or damaged images stored around that deserved a second life, right?The truth is that many people make mistakes in the process and end up worsening the quality of the original image.
In this article, we will show you the main mistakes you should avoid when restoring old photos, as well as offer a practical checklist to ensure that your work comes out perfect. Ready to learn how to do it right?
Announcements
Mistake 1: Do Not Backup Original Photo
The first and most critical mistake you can make is to work directly on the original photo without creating a backup. When you edit the original file, there is no going back: any poorly applied filter or over-adjustment can spoil an image that is unique and irreplacable.
Before you begin any restoration, make at least two copies of the file: one to work with and one as an absolute backup. Save the backup in a safe location away from the computer where you are making the adjustments. Thus, if something goes wrong, you will always have the original image intact to start over from scratch.
Announcements
Error 2: Automatically Apply Filters Without Pre-Registering
Many apps to restore old photos offer automatic filters that promise restoration with one click. You click, the image changes, and you’re done: problem solved, right? No! This is a dangerous error that you need to avoid. Every old photo is different: some have risk, others have stains, some are faded. A generic filter will hardly solve all these problems simultaneously and properly.
Before applying any filter, analyze your photo. Identify what are the main problems: the image is too faded? Has scratches or marks? Is it with low contrast? Is it with the wrong colors? Only after understanding the specific problems should you seek targeted solutions. This will ensure a much more natural and faithful result to the original image.
Mistake 3: Overdoing Contrast and Saturation Boost
When you see a very faded old photo, the temptation to dramatically increase contrast and saturation is great. You want the image to be vibrant and clear, and this is absolutely understandable. However, overdoing these adjustments makes the photo look artificial, with very garish colors and loss of naturalness.
The secret is to make gradual and balanced adjustments. Increase the contrast in small steps, observe the result, and continue until you find the sweet spot. The same goes for saturation: a restored photo should have bright colors, but still look real. If the image looks like a cartoon or poster, you went too far. Moderation is your best ally in this process.
Error 4: Ignore Scan Quality
If you are working with a printed photo that needs to be restored, the way you scan the original makes a huge difference in the end result. Scanning the photo with a very low resolution, for example, will limit all the quality you can achieve later. No matter which app you use: a scanned image in low resolution will go bad.
Try to scan at high resolution, ideally between 600 and 1200 dpi, depending on the size of the original photo. A good scan captures all the details and imperfections of the image, and this leaves you with more material to work with during the restoration. Investing time in this step saves work afterwards.
Mistake 5: Not Fixing White and Color Balance
Old photos often have a noticeable color deviation, often a yellowish or reddish tint that leaves them looking aged. You can eliminate this problem by correcting the white (white balance) of the image, which adjusts all color tones to a more natural pattern.Many people skip this step and work only with contrast and saturation.
Search for automatic white correction tools or use manual color temperature adjustments. Apps to restore old photos often include these functions. When correcting color balance, you remove that old-fashioned aspect of the image and make everything more vibrant and real.
Error 6: Resize Too Early or Incorrectly
When you resize an image (increase or decrease its size in pixels), there is always a loss of quality, especially if you are increasing. Many people resize the photo in the first steps of the restoration, which limits all the quality you can achieve later. Leave the image at its original size throughout the restoration work.
Resizing should be only the last step, and only if necessary. If you need to make the photo larger, use intelligent magnification methods (upscaling) that minimize quality loss. The correct order is to restore first, then resize. Inverting this, you will regret the result.
Checklist for Restoration of Old Photos
To keep you from losing sight of any important details, we have prepared a complete checklist that you can follow whenever you restore an old photo. Print or save this list and consult it before you start:
First step: analyze the photo and identify the main problems (fading, scratches, spots, wrong colors). Second: back up the original image in two different locations. Third: choose the app or tool best suited for the identified problems. Fourth: start with gentle adjustments of contrast and brightness, observing each change.
Step five: correct the white balance and the colors deviated from the image. Sixth: if necessary, apply noise reduction or repair of scratches and stains. Seventh: increase the saturation moderately to bring vibrance without looking artificial. Eighth: review the entire image before finalizing, noting if it was natural.
Ninth: save the restored image in a format that does not lose quality (such as PNG or TIFF). Tenth: keep the original and restored image both saved, for future reference. Eleventh: test the result on different screens and contexts to ensure that it looks good. Finally: document which techniques worked, to use in future restorations.
Error 7: Confuse Restore with Modification
There is a fine line between restoring a photo and modifying it to the point of changing what it represents. When you restore, the goal is to bring the image back to its original state, removing damage and improving quality. When you modify, you are changing the reality captured in the photo.
Avoid adding elements that were not in the original photo, remove people or objects that should be there, or change important features of the image. Color adjustments, contrast and cleaning marks are restoration.Refashion faces, add elements, or change compositions is modification. Keep in your zone and your result will be much more satisfactory and respectful of the original.
Mistake 8: Using Tools Unsuitable for Work
Not every app for restoring old photos is the same, and not all tools are suitable for all kinds of damage. An excellent application for removing scratches can be weak in color correction. Another can be great in contrast enhancement, but terrible in noise reduction. You need to know the strengths and weaknesses of each tool you use.
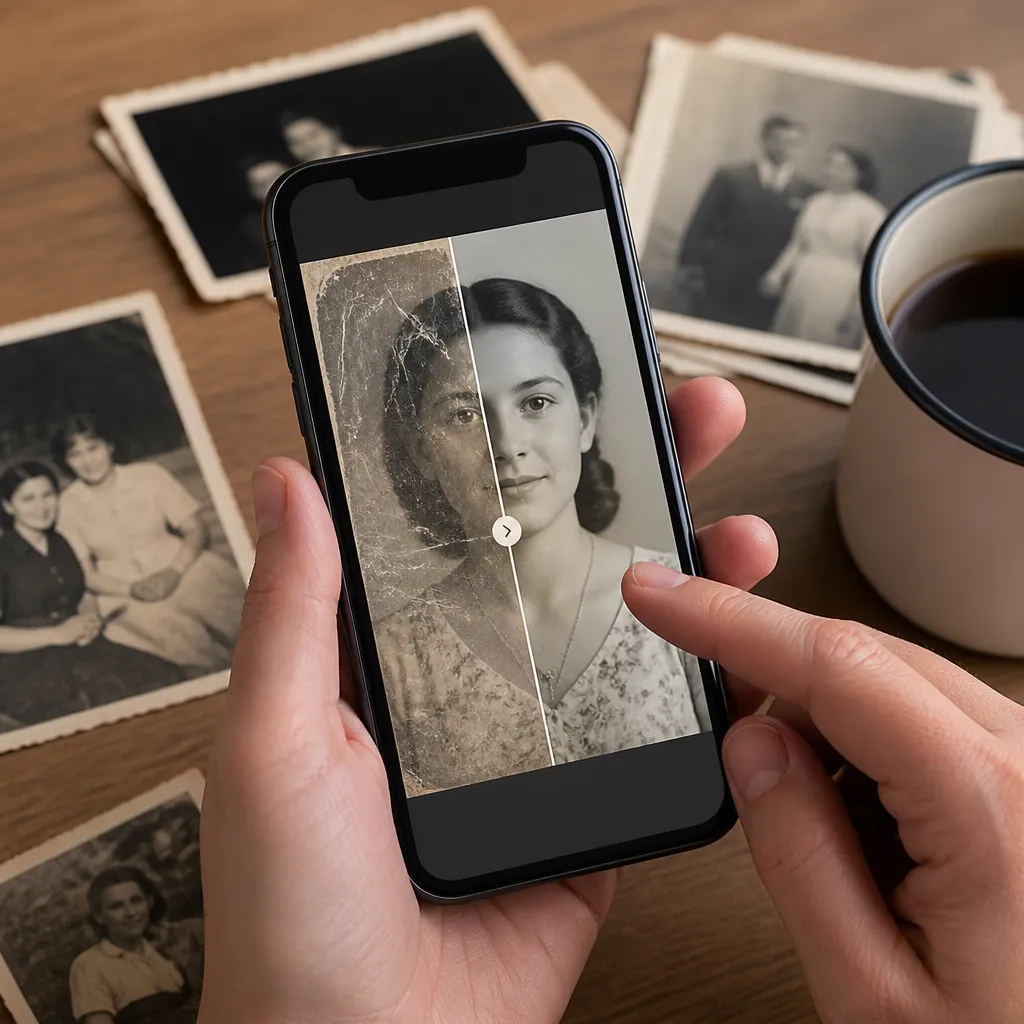
Search before choosing your app, read reviews, see examples of before and after work done with it. Sometimes you will need to use more than one tool in sequence to achieve the desired result, and this is completely normal. The important thing is not to stick to a single app and recognize its limitations.
Restoring old photos requires patience, practical knowledge and attention to detail. By avoiding these eight common mistakes and following the checklist provided, you will achieve much better results in your restorations.Each old photo rescued is a story preserved for future generations, so invest the time and care they deserve!